|
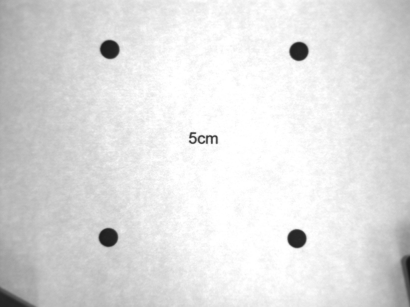
By using a 4 point calibration you can establish a coordinate system
equal to the one used by the robot. This enables you to communicate pick up points and rotation in
the robot coordinate system. (Before you start the robot calibration
remember to do a lens calibration if
necessary.)
Robot calibration is only valid for a specific distance to the object
(robot plane). For each different robot picking plane, an individual robot
calibration must be done. Scorpion can handle multiple robot planes.
Procedure

- Use an image with four points like the one above and place it under the camera.
- Take a picture (Snapshot button) of the 4 point calibration
grid.
- Find the centre of each point with Scorpion:
- Add a new Blobtool in the toolbox, name it e.g. FindRefPoints
- If you have calibrated the lens, set the reference for the tool
(under the Setup tab) to the name of the lens calibration
tool.
- Set the correct search area and threshold levels.
- Press the tool's Apply button, and the tool is run.
- In the Result tab you find the centre of gravity x,y
coordinates for the blobs found.
- Check by using the cursor on the image that you note down the
correct x and y values for the four points.
- By moving the robot to the centre of each point you get the equivalent
robot coordinates.
- Next we need to coordinate the image and robot coordinate systems:
- Add a new tool of type ExternalReference in the toolbox.
- Use the lens calibration tool as reference.
- Fill in the local coordinates for all four points.
- Fill in the corresponding robot (external) coordinates.
- Press Apply and the tool is run.
In the image you now have three different coordinate systems:
- The original pixel system
- The lens calibration system
- The robot coordinate system
Tools can work in any coordinate system. You decide by choosing the right
reference for the tool.
You can also visually switch between the coordinate systems by holding
down the right mouse button over the image and selecting Reference system.
|