|
Double-click
the tool name or select the name and choose the Edit button to
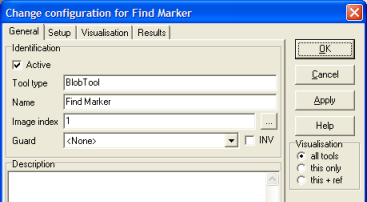
edit a tool. Under General in the window showing up, you find
the tool name and type in addition to eventual image index, guard and
a description. You can here also activate/deactivate the tool. In the Guard
field, you can put the name of a logical tool. The tool you are
configuring is only run if the result of the logical tool is true
(=1).

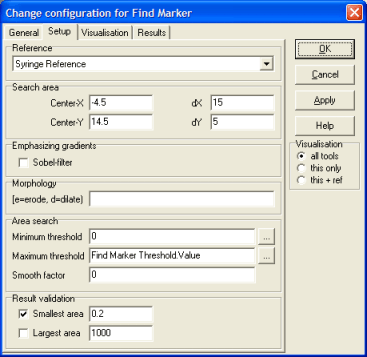
Under
Setup you put in relevant values to configure the tool.

Under Results you find
the results of a tool operation. Right click when selecting a result
parameter and you can set the precision and add the unit
of measurement. This will be reflected when the parameter is shown in Operation
- Results and Service - Advanced - Results.

By activating the Result dialog option a modeless result windows is
visible. Multiple results dialogs from different tool can be
activated at the same time.
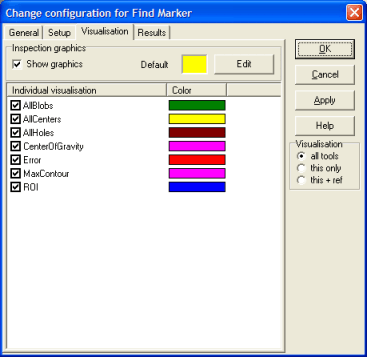
Colours are set to visualise
the tool operation in the camera image on the screen.
To
help you setting up the tools, use the Visualising – all
tools/this only/this+ref select box at the lower right of the
configuration panels. Press the Apply button, and you
immediately see the result of your settings in the camera image. The all
tools option shows the graphical results of all tools in the image,
this only shows only the results of the tool you are configuring. this+ref
shows the results of the tool you are configuring in addition to the
results of the tool’s reference.

|