|
Scorpion has a number of ways to store images. The most important
ways are:
- From the toolbar - Image Button
- From the Image History List - Save or Save All
- From the Image Menu - save with or without overlay graphics
Image simulation plays a very important role in offline
verification.
Save Image - Toolbar
-
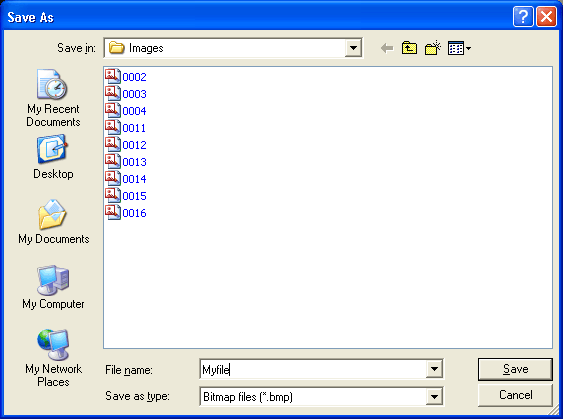
Press the Image button in the toolbar: activates the Save
Image dialog

- In the Folder "e:\MK-01-01 images" the following files are
stored, assuming two active images, with the following files names:
- Image 1 : 0001_OK_0.bmp
- Image 2 : 0001_OK_1.bmp
Note: You can choose between BMP and JPG format.
Saving the Image History List
-
Activate the History List menu - select the Save or Save All command

- In the Folder "C:\images\20050217_105835" the following files
are stored, assuming two active images, with the following file
names:
- 0001_OK_0.bmp
- 0001_OK_1.bmp
- 0002_OK_0.bmp
- 0002_OK_1.bmp
Note: All images are store with an image sequence number
prefix and an image index postfix.
Save Image - Image Menu
-
Select either Save shown image with graphics or Save
shown image without graphics from the menu. Select a
folder to place the images from the window coming up.

Note: Only images saved with the command Save
shown image without graphics can be used for image processing.
Using images - Camera Simulation
-
Go to Service - Camera
-
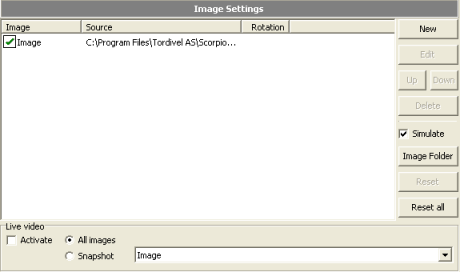
Select Simulate in the Image settings panel

-
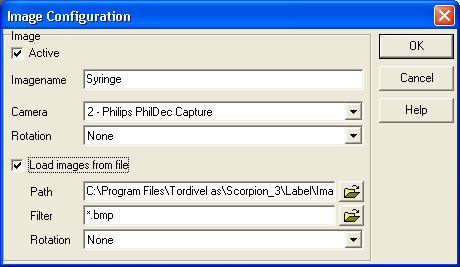
Double click or select the image in the Image settings list and
press Edit.
-
Set the image path to the folder defined above.

- Press OK and you are ready to start Scorpion in simulation
mode.
- Open the Service - Scheduler tab and set the image
trigger (the speed).
- Click on Start and an image will appear in the speed
defined by the Scheduler.
|