|
Connecting a camera and capturing images starting with the
Default profile.
The Default profile can be changed to take live images with the following
steps:
- Select Drivers from the CD-ROM window to install selected camera drivers. The DirectX8.1 driver is required for camera operation under
Windows 2000.
- Connect the camera to the PC. The FireGrab.dll camera interface
supports all windows imaging devices including web cameras and firewire
cameras.
- Go to the Windows Start menu
- Select Start - Programs - Tordivel Vision Solutions - Scorpion. A profile
selection dialog is then shown.
- Select the Default profile
- Press Service in the main toolbar - give the password
- Activate Service in the minor toolbar
- Activate Camera
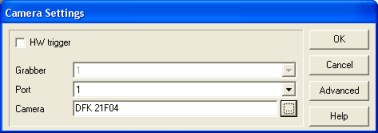
- Under Camera Settings select the Camera ... box

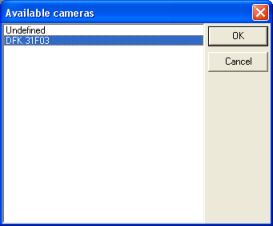
- Browse to select a new camera and the list of available cameras is shown.

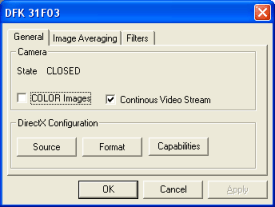
- Advanced is used to set the camera properties. Format
activates the camera settings. Source defines the image format and
number of frames per seconds. Using firewire cameras it is wise to
reduce the frame per seconds to a minimum.

More information :
Camera
- When closing the Camera dialog a green checkmark shall appear - this
means that the camera is open - a red checkmark can mean that another
application has opened the camera or simply an error.
- Uncheck the Simulate option under Camera - Image Settings
- Press Snapshot in the main toolbar - the image shall appear
in the left pane of Scorpion.
- Under Camera - Image Settings the name of the images can be
changed using edit and setting the image properties
Scorpion is now ready for capturing live images!
To continue the Scorpion configuration and making a complete system, we
recommend you to go through Making
a new Profile, Working in Toolbox, Defining
States, Making
a Profile Archive and Starting the
Inspection.
We advise you to investigate the demo profiles
to learn about tools, the user interface etc.
|